| Jim Frankenfield jim@mountain-guiding.com; 1-877-604-0166 Mountain Guiding; Mountain Safety |
![]()
Guiding NewsletterMay 2001 - Tech Tip SupplementClimbing Skins and Accessories
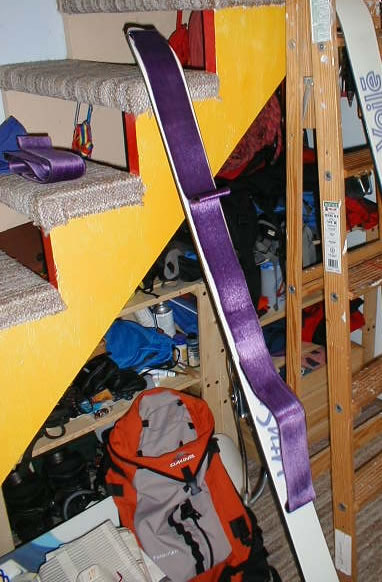
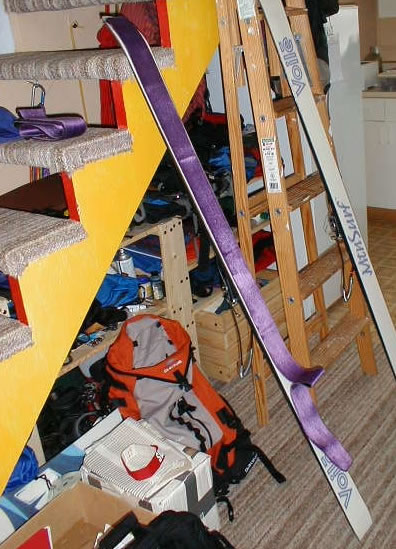
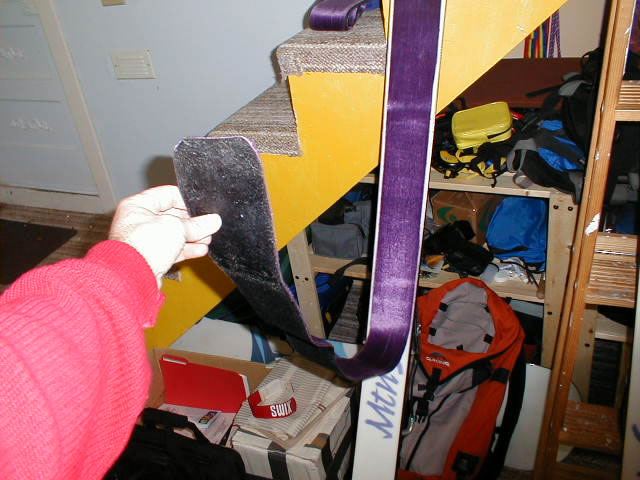
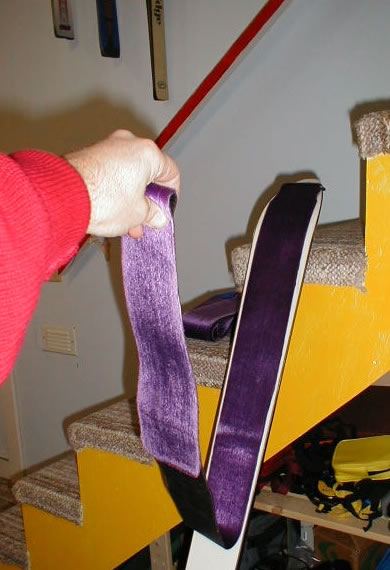
Climbing Skins Folding skins as you remove them in the field can be tricky, especially in difficult conditions. And even though new skins seem to be more tolerant of getting snow or water on the glue side it is still a good idea to avoid it. The skins I use most often are traditional style with no tail hook - they stop a few inches short of the tail end. I hold the ski at the center of the skin with one hand, keeping the middle of the skin on the ski. With the other hand I peel the bottom half of the skin off and fold it against itself up to the middle. Then I can peel the top half off and fold it over on itself. This means I only have half the skin flopping around at once, especially beneficial in windy conditions. Everyone develops their own tricks and preferences but I find this to work well. Another suggestion related to climbing skins is to carry some skin wax (appropriately called "Glop Stopper" by Ascension). This can be essential in spring but this year it was also essential on numerous mid-winter trips. In wet snow the bottom of the skin gets wet, and then since it is being slid along the cold snow surface it freezes. The ice on the skin can act like glue to attach a layer of snow ranging from under an inch to several inches thick onto your skin. This is a good way to increase the work-out value of your tours, but most people prefer to eliminate it. If you lack skin wax you can try a de-icer like maxi-glide, a ski glide or base wax, or just a candle if necessary. These will offer different degrees of success but any of them should be better than nothing. If you anticipate needing skin wax you might want to put it on at home before leaving, in a warm environment. A final suggestion for skins is to keep a small towel (like a washcloth) in the skin bag or in a small kit with glop stopper and maxiglide. Especially in spring, the base of the skis may be very wet when you go to attach skins. Drying the base with an absorbent cloth will improve adhesion and lengthen the life of your skin adhesive. (In good weather just hang it on your pack in the sun for a while and the cloth will dry right out again.) Maxiglide This is another thing I like to carry ( in a small stuff sack with skin wax and a cloth). If your wax is wearing out and you need more glide this can help. It may help a bit with suction problems on wet spring snow. And it also serves as a de-icer - in a pinch use a bit on your bindings or your skins if you don't have skin wax. Tracksetting When it is your turn to lead the pack give some consideration to your tracksetting skills. There are fine points to this you can learn, but it just takes experience and practice. Some of the goals are to keep the grade manageable, avoid kick-turns when possible, avoid hazards and make efficient use of terrain features. These goals span features from the micro to the macro so look at what is coming up ahead of you right away but also try to maintain views of the "big picture" as much as possible too. It's easier to find an efficient and safe route past a terrain trap if you see it coming sooner. |
||||||||||||||||


![]()
Guiding Newsletter Archive |
Climbing page |